How to download and install WordPress themes Step-By-Step


WordPress themes control how your site looks and behaves. Installing the wrong theme, or doing it without a backup, can break layouts or lose settings. This guide shows two practical ways to download and install a theme: the manual ZIP upload (use this when you have a downloaded theme) and the in-dashboard theme directory (fastest for free themes). Follow the steps exactly and test on a staging site when possible.
Before you touch anything
Back up your site (files + database). If you’re on WordPress.com, note that installing custom themes requires a Business plan or higher. For self-hosted WordPress.org sites, proceed as below.
Two quick checks:
-
Confirm you have admin access to Appearance → Themes.
-
If the theme is premium, make sure you downloaded the theme ZIP from the seller and saved the license key.
Manual ZIP upload
Use this when you bought a theme or downloaded a custom theme ZIP.
Step A:
-
Download the
.zipfile from the theme seller or marketplace. Unzip only if the seller’s instructions say to; most premium themes are uploaded as a single ZIP.
Step B:
-
Log into WordPress and go to Appearance → Themes → Add New.
-
Click Upload Theme, choose the theme ZIP, then Install Now.
-
Wait for the upload and installation to finish. Click Live Preview to check, then Activate to make it live.
Common friction and how to handle it
-
If WordPress rejects the package, confirm the file is a single
.zipand not a bundle containing multiple nested zips. -
If you see “Destination folder already exists”, connect to your host via FTP or File Manager and remove the old theme folder at
wp-content/themes/theme-name, then retry. -
If the upload is blocked by size limits, either increase the upload limit (host or php.ini) or upload the unzipped theme folder via FTP into
wp-content/themes/then activate it in the dashboard.
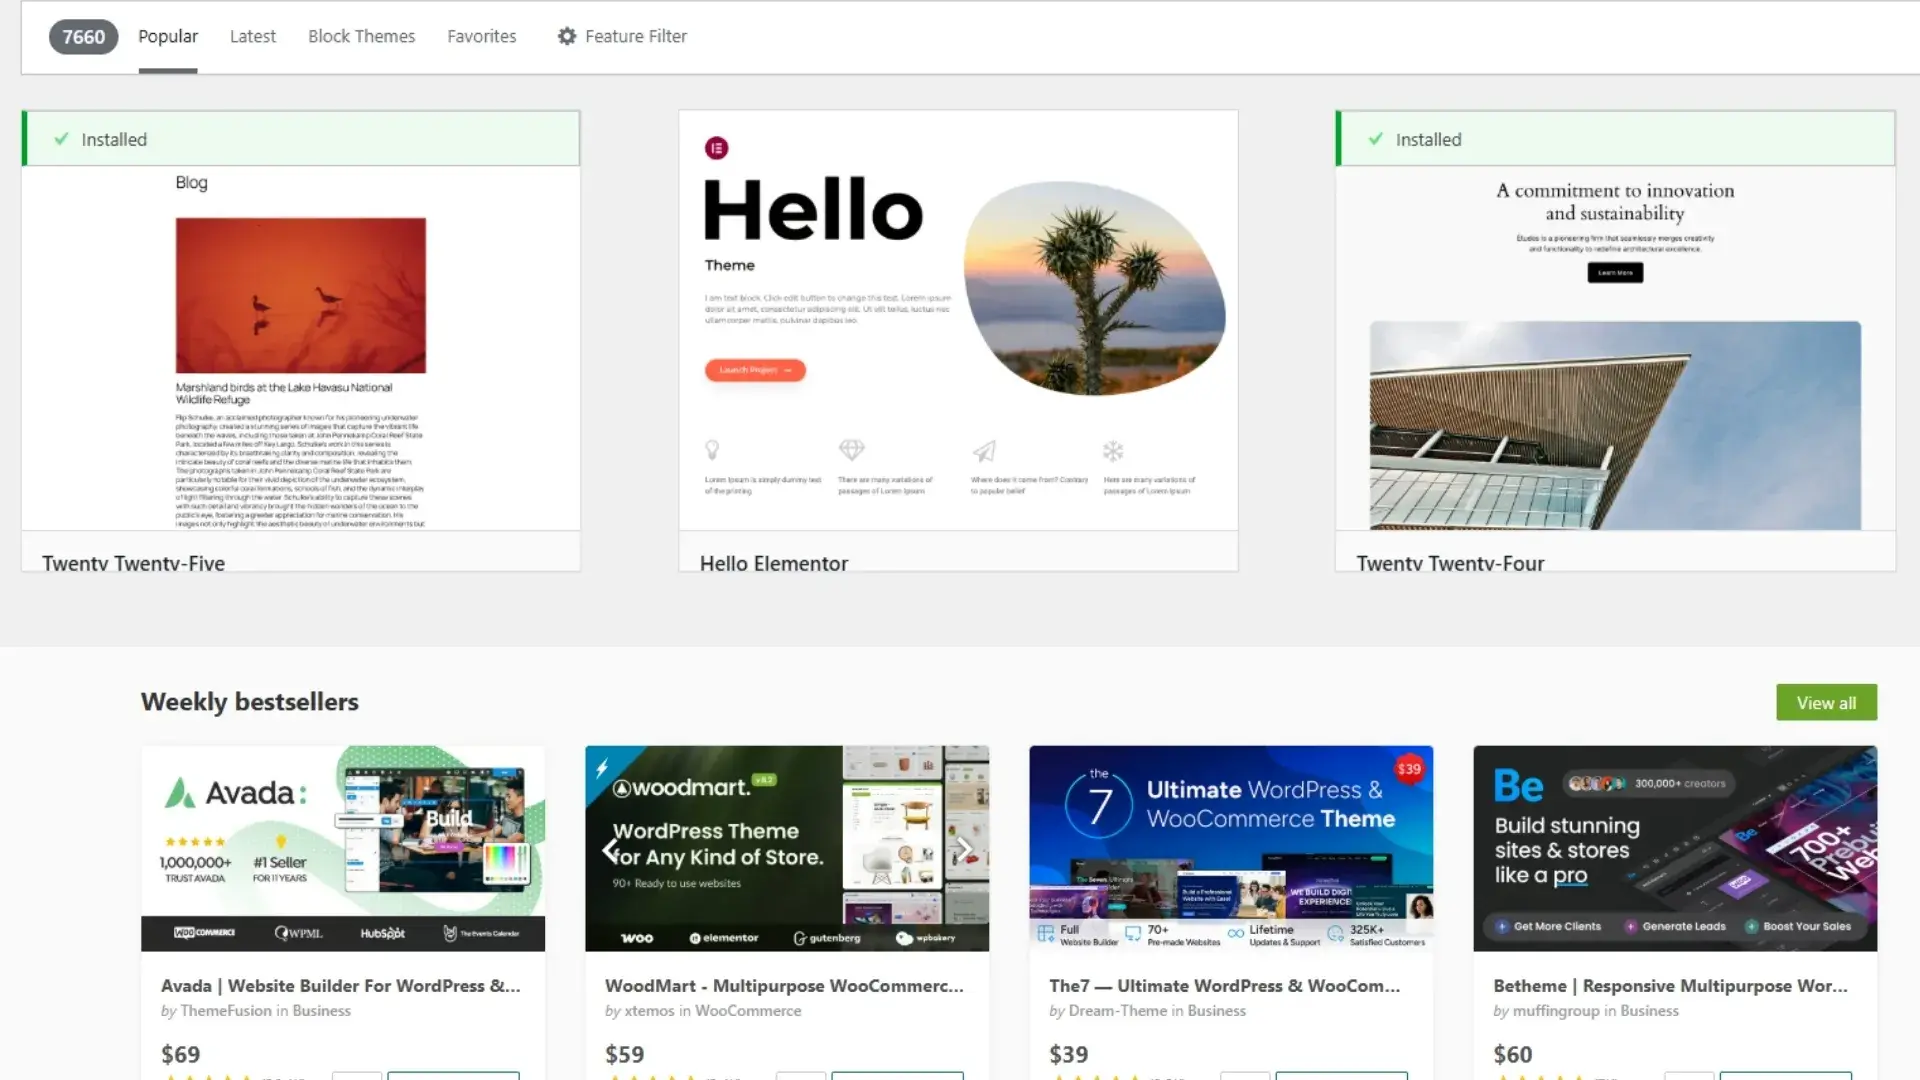
Install from the WordPress.org theme directory
Use this when you want a free theme listed in the official repository.
How to do it
-
Log into WordPress and go to Appearance → Themes → Add New.
-
Browse or use the search box. Use filters (Featured, Popular, Latest) or Feature Filter to narrow results.
-
When you find a theme you like, hover it and click Install, then Activate.
-
Use Appearance → Customize to adjust site identity, colors, menus, and widgets.
Why this is the safest first choice
Themes in the WordPress directory go through review checks, and you can see ratings, active installs, and update history before installing. Start here unless you need a premium theme.
After activation
Most themes will prompt you to install recommended plugins, import demo content, or enter a license. Follow their prompts, but:
-
Only install plugins you trust.
-
Import demo content on staging first (it can overwrite options and add many posts/pages).
-
Reconfigure widgets and menus changing themes often moves widget placements.
If something breaks: switch to a default theme (Twenty Twenty-Three or similar) to see if the issue is theme-related. Deactivate recently added plugins to isolate conflicts.
My experience
I switch themes frequently for testing. Free themes are great for simple projects; premium themes save time when they include demo imports and built-in page builders. I always import demos only on staging, and I keep two notes handy: where widgets moved and which custom CSS I added. That saved me hours during redesigns.
Rules
-
Only download themes from trusted marketplaces or the official WordPress directory.
-
Never use “nulled from unknown sources” themes they’re a security risk.
FAQs
Q: How many themes can I install?
A: You can install many themes but use only one at a time. Remove themes you won’t use to reduce clutter and potential security issues.
Q: Do I need a child theme?
A: If you plan to modify theme code or styles, use a child theme. It preserves your changes when the parent theme updates.